Quilting can quickly turn into some kind of addiction. What started off with you making a quilt for your bed can end up with you having several quilts that you don’t know what to do with. Fortunately, you can also show off your beautiful quilts as decorative wall hangings.
Of course just because you’re a seasoned quilter doesn’t mean you know how to hang a quilt. It can be a little trickier than you might expect.
Well, we’re here to tell you what you need to know. In this article, we will cover all things quilt hanging. So sit back and relax, we’ve got you covered.
Things to consider
Before you hang up that cute little quilt of yours, there are several things you need to consider.
First of all, you should decide whether you want to hang your quilt temporarily or permanently. This will affect where you will hang your quilt and which method you’ll use. For instance, for permanently hung quilts, you need to use a sturdy hanging method and choose a spot that isn’t hit by a lot of sunlight.
You will also need to think about the damage your chosen hanging system will inflict on your wall in the long run.
Another thing to think about before hanging your quilt is its size. As quilts are generally heavy, large quilts usually require balanced support for best results. If you hang a large quilt by its edges, it will not only look weird but also its fibers will be stretched and it may even get damaged.
With that being said, here are 5 ways to hang your quilt that should address any situation you find yourself in.
5 different ways to hang a quilt
How to hang a quilt using hanging sleeves
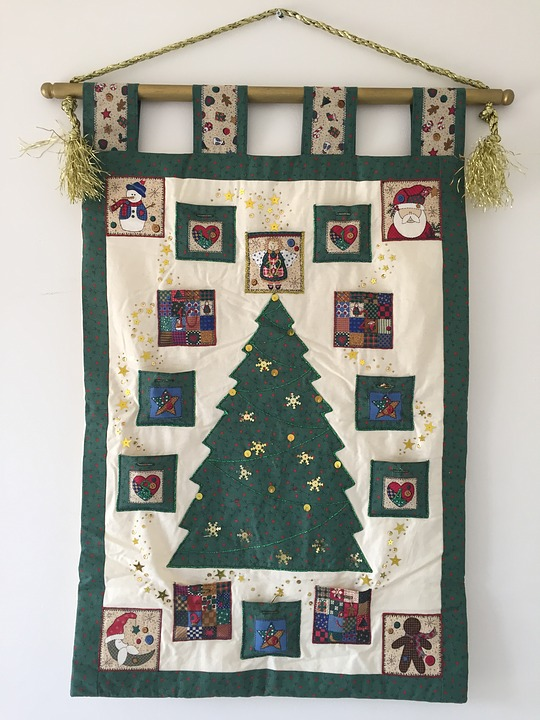
The most popular way of hanging quilts is definitely using hanging sleeves. This involves attaching a sleeve to the upper back part of your quilt and placing a dowel or metal rod inside of it.
Supplies
- Fabric
- Scissors
- Tape measure
- Needle and thread
- Metal rod/dowel
Instructions
- Measure the top edge of your quilt and take note of that measurement.
- Cut an 8 ½ -inch wide piece from your fabric. Make it 1-inch longer than the top edge of your quilt.
- Fold ½” on both lengths of the strip and sew a hem for each side.
- Fold the fabric in half lengthwise and press a crease down the center.
- Open up the fabric and then fold both raw edges such that they meet at the center where your crease line is formed. The right side of the fabric should be on top.
- Where these two edges meet, sew a ¼ inch seam. Open up the seam and iron it out.
- Pin the formed rectangular loop on the top back of your quilt with the creased side up (The part you just seamed should not be looking up, it should be in direct contact with the quilt).
- Blind stitch around the loop, leaving the opening in the fabric unaffected.
- Place your dowel or rod inside the loop and hang!
How to hang a quilt using hanging rod systems
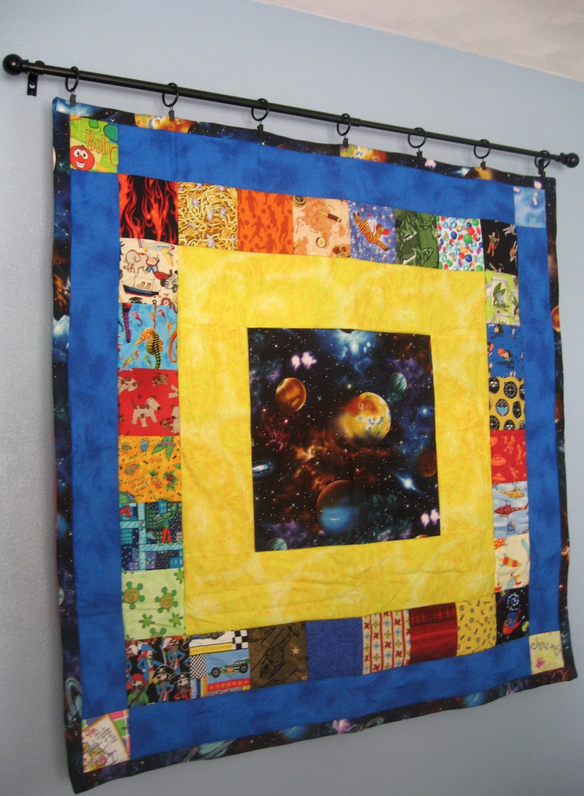
Another way to hang your quilt is by using a hanging rod system. Available at IKEA and local stores, this system usually includes two anchors and a wire running from one to the other. The wire features clips to which you can easily attach your quilt and hang it like a curtain.
Supplies
- Hanging rod system
- Finished quilt
Instructions
- Install the hanging system as per the packaging’s instructions.
- Clip in the quilt.
That was easy!
How to hang a quilt using clamps
If you’re looking for an easy and decorative way to hang your quilts, you should look into getting clamps. Available in a variety of designs and finishes, they let you rotate your quilts easily.
However, if you are not good at working in a straight line, you may have some difficulty installing them properly and end up with crooked displays.
Supplies
- Completed quilt
- Clamps and screws
Instructions
- Unpack your clamps and screws.
- Drive the screws into the wall according to the size of your quilt. While small quilts may only need 4 points of support, one for each corner, large clamps will need more support.
- Slide your clamps onto the screws.
- Unscrew one corner clamp and insert your quilt corner.
- Tighten the clamp until the quilt is secure.
- Repeat this for all the quilt corners and any points in between.
How to hang a quilt using hanging triangles
This method is way easier than using hanging sleeves. It basically involves using fabric triangles to hold your quilt on a dowel or metal rod. Since it doesn’t provide support for your quilt’s center, it’s best for small quilts.
Supplies
- Squared quilt
- Binding strips
- Wall screw/nail
- Fabric
- Metal rod/ dowel/ wooden stick the same length as the quilt width
- Tape measure
- Scissors
- Pins
- Needle and thread
Instructions
- Measure your quilt’s width and record that figure somewhere.
- Take your fabric and cut out four squares whose length is ⅓ of your quilt’s width.
- Fold each of your four squares by half to make a tiny triangle.
- Pin one triangle to each of your quilt’s back corners. Each triangle’s raw edges should be aligned to the quilt’s edges.
- Sew your binding on. This sews the triangles into the corners of the quilt.
- Get your dowel or rod and insert it into the top two triangles. You can do the same for the bottom two as well if you feel like your quilt is not hanging as straight as it should.
- Hang your quilt on a wall screw or nail .
How to hand your quilt using thumbtacks
If you are looking for an easy way to hang your quilt and care less what anyone thinks, this one’s for you!
Supplies
- Completed quilt
- Thumbtacks
Instructions
- Place the edges of your quilt against the wall and secure them with a thumbtack.
- Position other thumbtacks across the edges at intervals for more support.
Ultimately, while there are several ways to hang a quilt, you should always go for the one that best suits your style and needs.