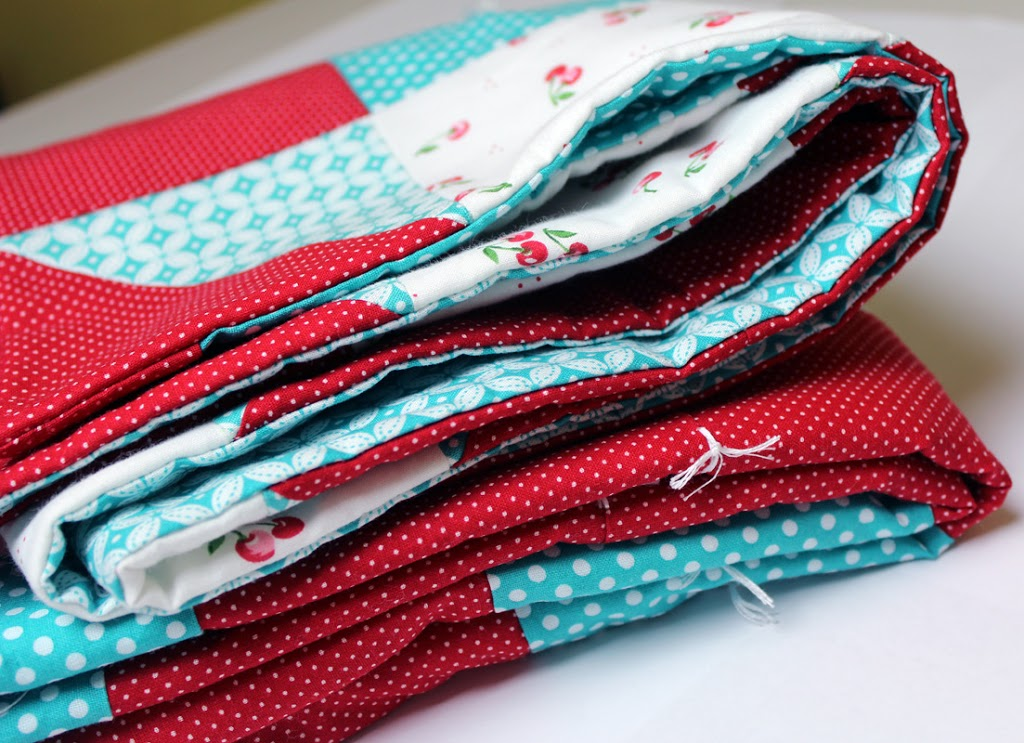
While there are many ways to finish a quilt, one of the most popular ones is tying.
If you don’t know how to tie a quilt, it’s actually pretty straight forward. It involves working around your quilt and installing a tie every few inches.
Simply put, a tie is created by stitching through the 3 layers of your fabric and creating a knot on the quilt’s top or bottom surface.
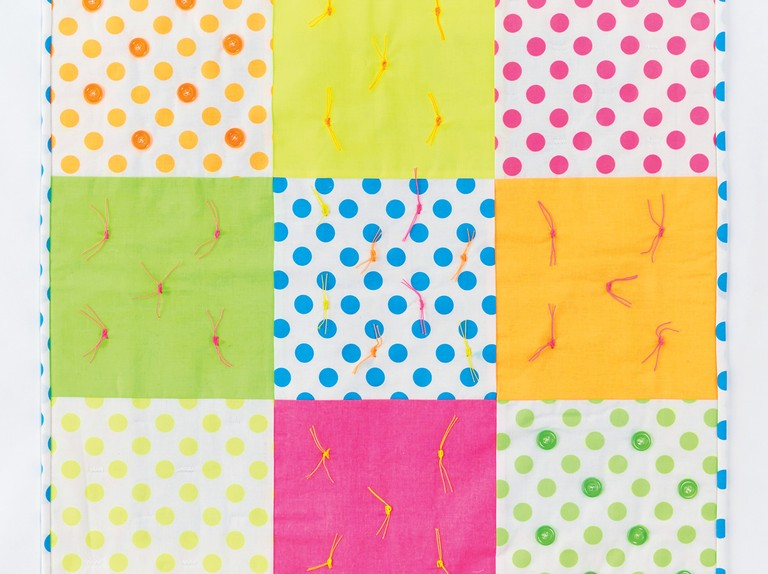
Most times, tying a quilt is seen more as utilitarian rather than decorative. However, you can use accessories like buttons to give your quilt a cute finish (you shouldn’t do this on quilts to be used by children though, as it can be a choking hazard).
In this post you’ll learn everything you need to know about how to tie a quilt!
Why tie a quilt?
Of all the ways to finish a quilt, tying is the most beginner-friendly. It is easy and quick to do. As such, you can easily do it in a group. You can even bring in your little ones to help and make a family affair of it.
Also, it’s great for super thick batting that is usually a pain to force under a sewing machine’s throat. If you’re okay with something simple and easy, tying is the way to go!
Do you tie a quilt before or after binding?
The right time to tie your quilt heavily depends on the type of binding you are planning to use. If you want to use strip binding on your quilt’s outer edges, you should tie your knots before you do your binding.
On the other hand, if you want to use the pillowcase style (where you sew along the outer edges of your quilt then turn it inside out), you should do your tying after you’re done binding.
How far apart should you tie a quilt?
The distance you should leave between your knots depends on the type of batting you’re using. This distance is usually indicated on your batting’s label, so pay close attention to that during purchase. However, when in doubt, work with 4 to 5 inches.
For quilts without batting, you should simply place the knots close enough to avoid shifting. When it comes to placing your ties, it is best to position them in an even grid.
Alternatively, you can place them according to your quilt’s design. For instance, they can be in the middle of your quilt blocks or across a seam.
Supplies you need to tie a quilt
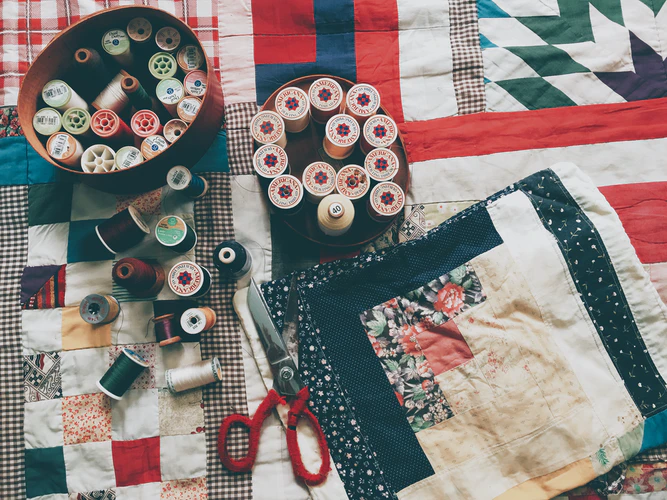
- Scissors
- Yarn or heavy thread like Perle cotton
- Curved tapestry needle with a big eye
- Basted quilt sandwich (batting, top, and bottom fabric)
- Disappearing pencil
- Buttons (optional)
How to tie a quilt
- Choose which side of the quilt you want your knots to be on.
- Place your basted quilt on a flat surface and straighten out its wrinkles.
- Decide where you want to place your knots and mark them with the disappearing pencil. Ensure the space between the knots is equal.
- Thread the needle with the yarn and cut it off at around 20 to 24 inches. Since yarn is pretty thick, it can be difficult to thread. You may need to use a threader.
- Starting from the center of the quilt moving outwards, pierce through the 3 layers of the quilt and bring out the needle a distance of about 1/4” away. You can use a rubber thumb or thimble to make it easier for you.
- Leave a 2 to 3 inch tail on the side without the needle.
- Repeat this stitch one more time to reinforce it. The new stitch should be made close to the previous one but not in the same spot.
- Using your pair of scissors, cut the thread on the needle side leaving a second tail of the same length as the first one.
- Tie the tails together using a surgeon’s knot and trim the excess yarn to a length of around 1/2”. Avoid pulling on the thread and puckering the fabric.
- Repeat this across your whole quilt on the spots you had marked out for your knots.
- If you don’t like how the knots look, you could finish the thread ends using buttons. Pass them through buttonholes and finish as you would when stitching a button on a garment!
Alternatives to tying a quilt
If you feel like tying a quilt is not your cup of tea, you could go for the other finishing methods. These include:
- Free motion
In this quilting method, you use a darning foot and dropped feed dogs to guide your fabric. This gives you more control over where stitches are made. It takes practice to get the stitch length and tension right though.
- Machine tacking
The major difference between machine tacking and tying is that the former uses a machine instead of your hands. You will get your quilt ready in the same way and then position your machine’s needle on the spot that you would like to “tie”. You then make 4 stitches forward and then 4 stitches backward as well.
Do this one more time on the same spot for reinforcement. Once you clip the loose threads, repeat the process for other spots. While this quilting method is quite effective, it can be very cumbersome if you are working on a large quilt.
- Walking foot quilting
In this quilting method, you use a walking foot to sew through all 3 layers of your quilt following the seams of your quilt top.
- Hand quilting
This traditional quilting method isn’t that complicated. It’s all about hand stitching the 3 layers of your quilt together in the most efficient way. To do this properly, you need a big strong sharp needle that doesn’t leave gaping holes in your fabric.
You should also practice stitching in a straight line so that you have a perfect finishing. While it may take a newbie a long time, experienced quilters can finish their hand quilting projects much faster.
Final words
All things considered, tying is the easiest and quickest way to finish your quilt. If you’re a newbie I would suggest you learn how to tie before you learn any other quilting method. It will definitely come in handy in your quilting journey!